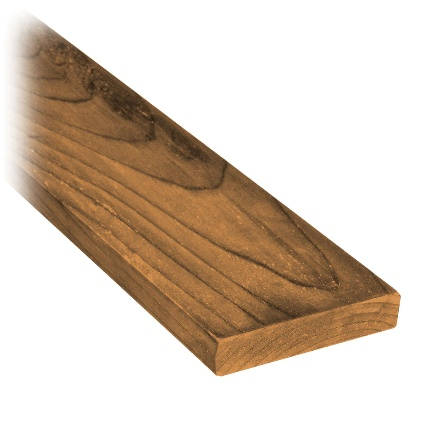
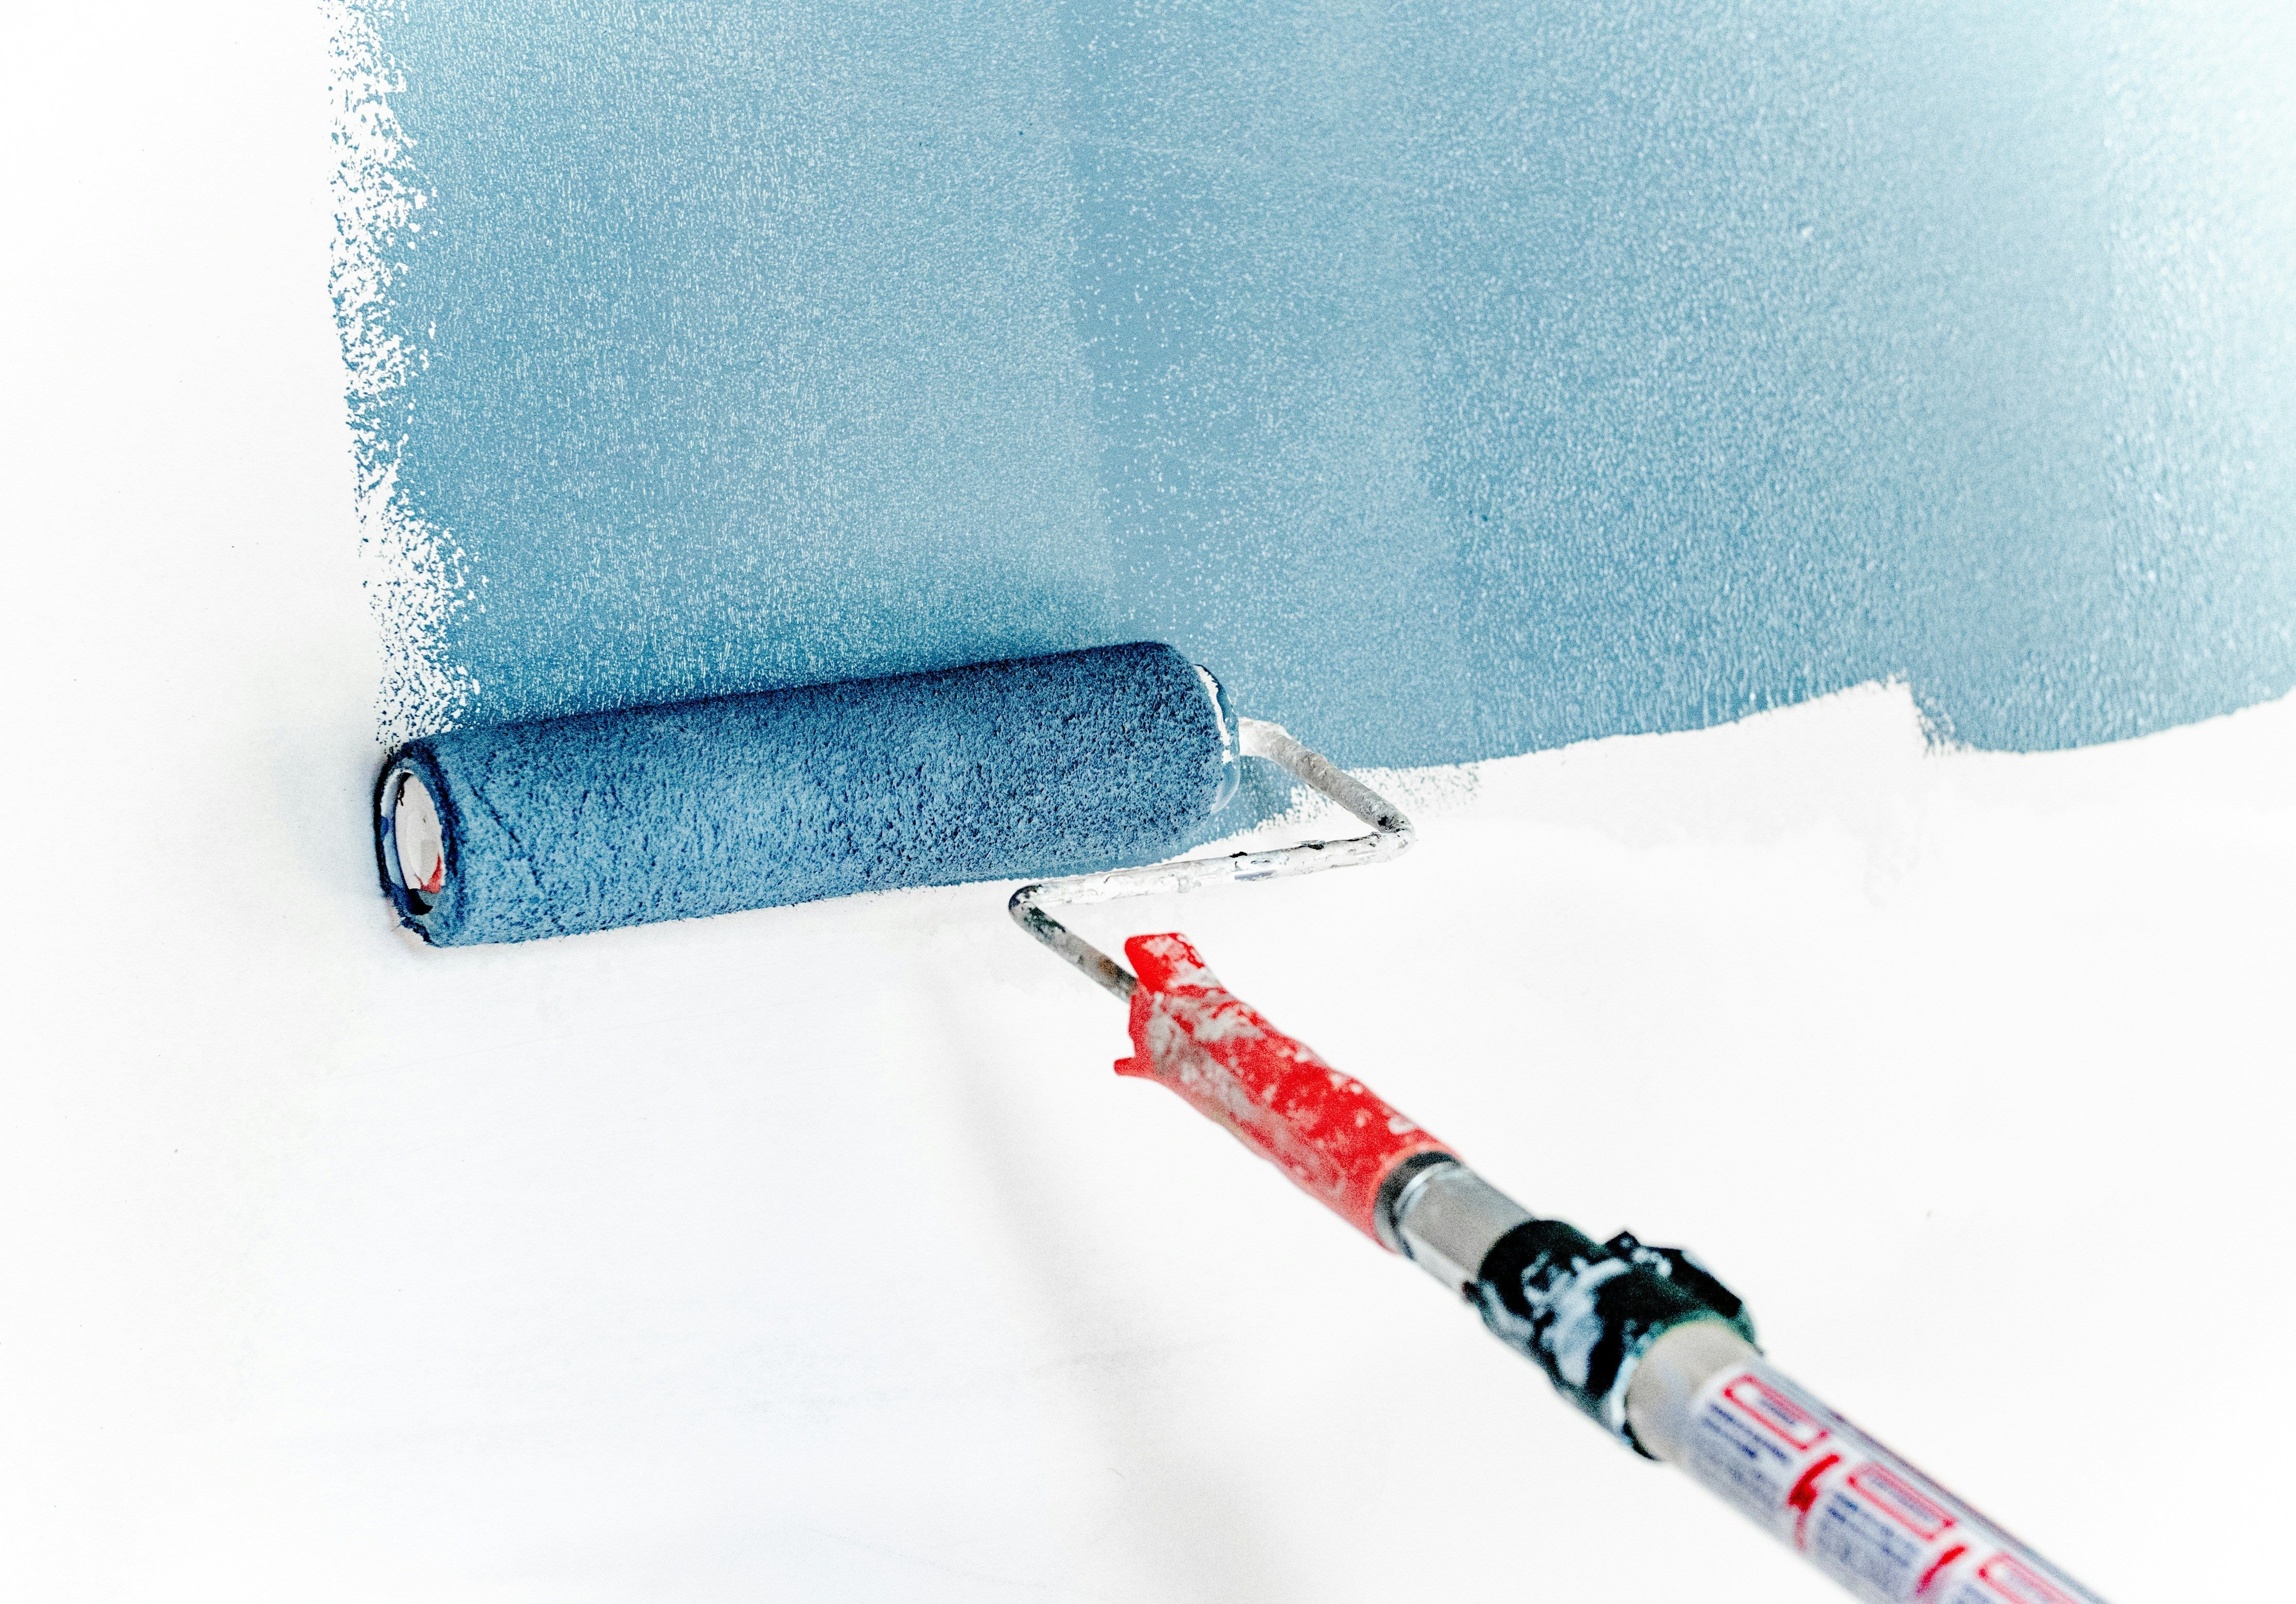
While wood can be stunning independently, many wonder if you can paint pressure-treated wood. And the answer is, yes. However, pressure-treated wood is essentially a finished product in and of itself. It is treated with a clear primer that is applied to soak through the wood.
This said, if the natural look of wood isn’t cutting it for you (pun intended), there are some things to know about the type of paint to use, how long to wait before painting, etc. In this article, the team at BarrierBoss will walk you through what you need to know.
What is Pressure Treated Wood?
Pressure-treated wood is lumber that has been treated under high pressure with certain chemicals. The end result is protection from moisture, decay, and pesky insect infestations. Pressure-treated wood can then be used for a variety of projects.
BarrierBoss customers tend to purchase pressure-treated wood to build things such as:
- Log Homes
- Wood Fences
- Lawn Furniture
- Exterior Decks
- Playground Equipment
- Crop Containers
- Garden Boxes
- Etc.
Because the wood has been treated, it will last a lot longer than it would if left to face the elements untreated. But there’s more to it than that. At BarrierBoss, we take this process to the next level. Our pressure-treated lumber is considered an Environmentally Preferable Product. This means it has low Volatile Organic Compounds (VOC) and minimal eco-toxicity. The result? It’s safer for the environment and safer for use in your outdoor projects.

Can You Paint Pressure Treated Wood?
So yes, you can paint pressure-treated wood. But it’s important to understand that if you do, you’ll likely need to repaint it periodically to keep up the appearance. While painting provides better coverage than staining, you’ll likely need to repaint the wood every two or three years. If you live in an area that is subject to inclement weather, such as heavy rain or snow, you’ll likely be repainting more often.
So, when you leave pressure-treated wood on its own, it requires very little maintenance. It is a personal choice whether you paint or stain pressure-treated wood, or leave it to its natural appearance.
Preparing Pressure Treated Wood for Painting
Proper preparation is crucial before painting your pressure-treated wood to ensure the paint adheres well and lasts long. Here's how to get your wood ready for a fresh coat of paint:
Check the Wood's Dryness
First and most importantly, you must ensure your wood has dried before applying any paint. Freshly treated wood is often saturated with preservatives and moisture. This will prevent paint from adhering properly if you move forward with the process too quickly.
And the amount of time it will take to dry can vary widely. Depending on the weather and humidity levels, this drying process can take several weeks to months. A simple test to check if the wood is dry enough for painting is to sprinkle some water on its surface; if the water beads up, it needs more time to dry. If it soaks in, you're good to go. Another method we use at BarrierBoss is to look at a cut edge of the wood and ensure no noticeable dampness is present.
Clean the Surface
Before painting, thoroughly clean the surface to remove any dirt, debris, and residual chemicals. This can be done with a gentle cleaning solution and a stiff brush. After cleaning, let the wood dry completely (again) before priming. The good news is that this drying process will not take as long as before, as the moisture from your cleaning solution should not saturate the wood.
Sand Any Rough Spots
Lightly sand the surface to smooth out rough areas and remove any splinters. This step is optional but recommended for a smoother finish. And, it can help prevent splinters for those who may inadvertently run their hands against the wood’s surface.
Apply Primer
The best paint choice is a high-quality, water-based exterior latex paint. But before applying the paint, apply a water-based exterior primer. The primer helps the paint adhere to the wood's surface, resulting in a smoother finish.
Skipping the primer can lead to peeling and chipping over time. So, to ensure your painting project lasts, don't skip the primer, and opt for the best water-based products you can find.
Painting Your Pressure Treated Wood
Once your pressure-treated wood is prepped and primed, it's time to move on to painting. And, we suggest that you paint the wood before you begin the construction process for whatever it is that you’re going to build. This ensures a more even finish and avoids those paintless sections that are hard to reach with a paintbrush.
Here’s a quick reference guide to use when painting pressure-treated wood.
Choose the Right Paint
As we shared earlier, select a high-quality water-based exterior latex paint. Check the paint can to ensure it is suitable for outdoor use. Make sure the paint is compatible with your primer. In many cases, you can purchase a primer and paint from the same manufacturer, which will increase the likelihood that the two products are compatible.
Gather Your Tools
Depending on the size of your project and the finish you desire, you'll need a paintbrush, roller, or sprayer. Consider your skill level when deciding which tools you use. If you are experienced with a paint sprayer and can ensure you don’t overapply the paint, this can be the fastest option. However, many people who are new to painting wood tend to opt for a paintbrush or roller.
Apply the Paint
When you purchase your paint through a local hardware store or lumber yard, have then shake it for you before you bring it home. Then, when you are ready to start painting, give it a good stir first. This helps ensure the paint chemicals haven’t separated and will give you a more even application.
Apply the first coat of paint in thin, even layers. Avoid applying too much paint at once to prevent drips and uneven coverage. Let the first coat dry completely, And by all means, be sure to follow the paint manufacturer’s recommended drying time. Most latex paints take one to three hours to dry. We tend to err on the side of three hours to be safe. At the three-hour mark, you can apply an additional coat if needed.
Clean Up
Wash your brushes, rollers, and any spills with warm soapy water (if using water-based paint). You may wish to purchase a curved handle wire brush from your local hardware store. This brush can be used to clean paint from between the bristles. When your paintbrush has been properly cleaned, you can use it again.
Properly dispose of any leftover paint and materials according to local regulations. Some communities have drop-off centers where you can bring leftover paint. You can add kitty litter or sawdust to the can, wait for the contents to dry, and then throw the resealed can in the trash.
What are the Best Uses for Pressure Treated Wood?
Pressure-treated wood can be used for so many exterior projects. It’s both strong and long-lasting. And, its enhanced resistance to decay, insects, and moisture. Its strength and longevity make it ideal for things like:
- Decking: It provides a sturdy, long-lasting surface that can withstand heavy foot traffic and harsh weather conditions.
- Fencing: It can protect your fence from rot and pests for years.
- Garden Furniture: Pressure-treated wood is strong and can hold considerable weight.
- Garden Beds: Use pressure-treated wood to provide a perimeter for a garden bed.
BarrierBoss offers pressure-treated wood sizes ranging from 1x4x8 to 6x6x12. And, if those sizes don’t suit your needs, let us know. We are happy to work with you on custom requirements.
We also want to mention here that it's common for pressure-treated wood to have a green tint. This coloration is due to the copper-based preservatives used in the treatment process. The process helps protect the wood against fungi and insects.
The green marks on pressure-treated timber are entirely normal. They indicate that the wood has been properly treated. So, think of them as a positive sign. Embrace the green and let it reassure you that it is well-protected against environmental threats.
If you do not paint the wood, the green color will fade to a more natural wood hue over time, but its protective qualities will remain.

Outdoor Bench Built With Pressure Treated Wood
Pressure Treated Wood from BarrierBoss
As we have shared, the answer to the often-asked question, "Can you paint pressure-treated wood?" is a resounding yes. Bring some color to your outdoor projects with proper preparation and materials. Use a high-quality, water-based exterior latex paint and primer.
At BarrierBoss, we offer various pressure-treated wood sizes to fit any project. Our premium-grade treated wood prioritizes environmental responsibility. Explore our selection in our product catalog and see the difference for yourself.
Whether planning a new deck, fence, or outdoor furniture, BarrierBoss has the materials to ensure your projects come out perfectly. Contact us today to find the perfect pressure-treated wood for your next project.
Frequently Asked Questions
How long should you wait before you paint pressure treated wood?
We suggest you wait a few weeks to a couple of months before applying paint to pressure-treated wood. It may be helpful to know that while we source our lumber from a mill, the mill does have to let it drip dry before it can be sent to any customers. This may speed up the drying process when you receive the wood. However, be sure to check the moisture content before applying paint or stain.
Is it better to paint or stain pressure treated wood?
Pressure-treated wood has a clear finish already. So, it is largely considered a finished product. But, not everyone loves that natural look. While painting your wood may result in a smoother, more balanced finish, staining has benefits.
Staining is often preferred because it penetrates the wood more effectively and is easier to apply than paint. However, stain offers fewer color choices and won't cover small cracks or the natural green tint of pressure-treated wood as paint can. If you aim to completely transform or hide the wood's appearance, paint might be the better choice.
What happens when you paint pressure treated wood too soon?
Painting pressure-treated wood too soon can result in peeling, blistering, or flaking over time. And, trapped moisture beneath the paint can cause the wood to deteriorate from the inside. Wait until the wood has reached a moisture level of 15% or less for the best results.


