
How to Install Metal Siding Panels: A Step-by-Step Guide
Your DIY Guide to Installing Metal Siding Panels
Metal siding panels are growing in popularity thanks to their durability, weather resistance, and sleek aesthetic. Whether you’re upgrading a residential structure or giving your workshop a new look, installing metal siding yourself can be a rewarding project—if done right.
This guide walks you through every stage of the installation process, from surface prep to final fasteners, with expert insight from the BarrierBoss team. Let’s get started.
Step 1: Prep the Surface
Good prep work is key to a smooth and long-lasting installation. Make sure the wall surface is flat, dry, and structurally sound. Remove any existing siding, nails, or debris. Repair damaged sheathing and install a moisture barrier like house wrap or building paper to prevent moisture buildup behind the panels.
Before installing panels, measure your walls carefully. This will help you calculate how many panels you’ll need and allow for an accurate layout. Don’t forget to account for overlaps and trim pieces.
Step 2: Gather Tools and Safety Gear
Installing metal siding panels doesn’t require a massive tool chest, but a few key items will make the job faster and safer. Here's what you'll need:
- Drill or impact driver
- Metal snips or circular saw with a metal-cutting blade
- Level, measuring tape, chalk line
- Safety glasses, gloves, and hearing protection
- Sturdy ladder or scaffolding
Safety first—always wear protective gear when cutting metal. Sharp edges can be unforgiving, and power tools make things even riskier.
Step 3: Installing the Panels
Begin at the base of the wall and work upward, ensuring your first panel is perfectly plumb. A chalk line helps guide consistent alignment.
Fastening Tips: Use corrosion-resistant screws or nails, and place fasteners in the flat section of the panel—not the ribs. Panels should be secured at each stud or furring strip, typically spaced 16 to 24 inches apart. Avoid overtightening screws, which can dimple the metal and reduce weather resistance.
Overlap each panel according to manufacturer guidelines (usually one rib or a few inches). Install any required trim pieces as you go, such as J-channels, corner caps, or flashing, to seal edges and maintain water resistance.
Step 4: Finishing Touches
Once all panels are in place, double-check fasteners for tightness and alignment. Inspect all seams and edges for proper sealing. Use high-quality caulk or sealant around windows, doors, and joints where moisture could creep in.
If painting is planned, confirm that your panel finish is compatible. BarrierBoss offers pre-finished panels that eliminate the need for additional coating.

Common DIY Pitfalls to Avoid
Even experienced DIYers can run into trouble without proper planning. Here are a few mistakes to steer clear of:
- Skipping the moisture barrier—this can lead to hidden mold or rot
- Improper screw placement that compromises structural integrity
- Starting with a crooked panel, which causes alignment issues down the wall
- Not allowing for thermal expansion (always leave a small gap at panel ends)
A little patience and precision go a long way in achieving a clean, professional look.
When to Call in a Pro
While many homeowners successfully tackle siding installation themselves, some situations are better left to a professional:
- Multistory homes or steep slopes that require scaffolding
- Complex wall layouts with lots of windows and trim work
- Structural issues that need to be addressed before siding
If your project feels overwhelming or you want guaranteed results, working with an experienced installer can save time and ensure long-term performance.
Built to Make DIY Easier
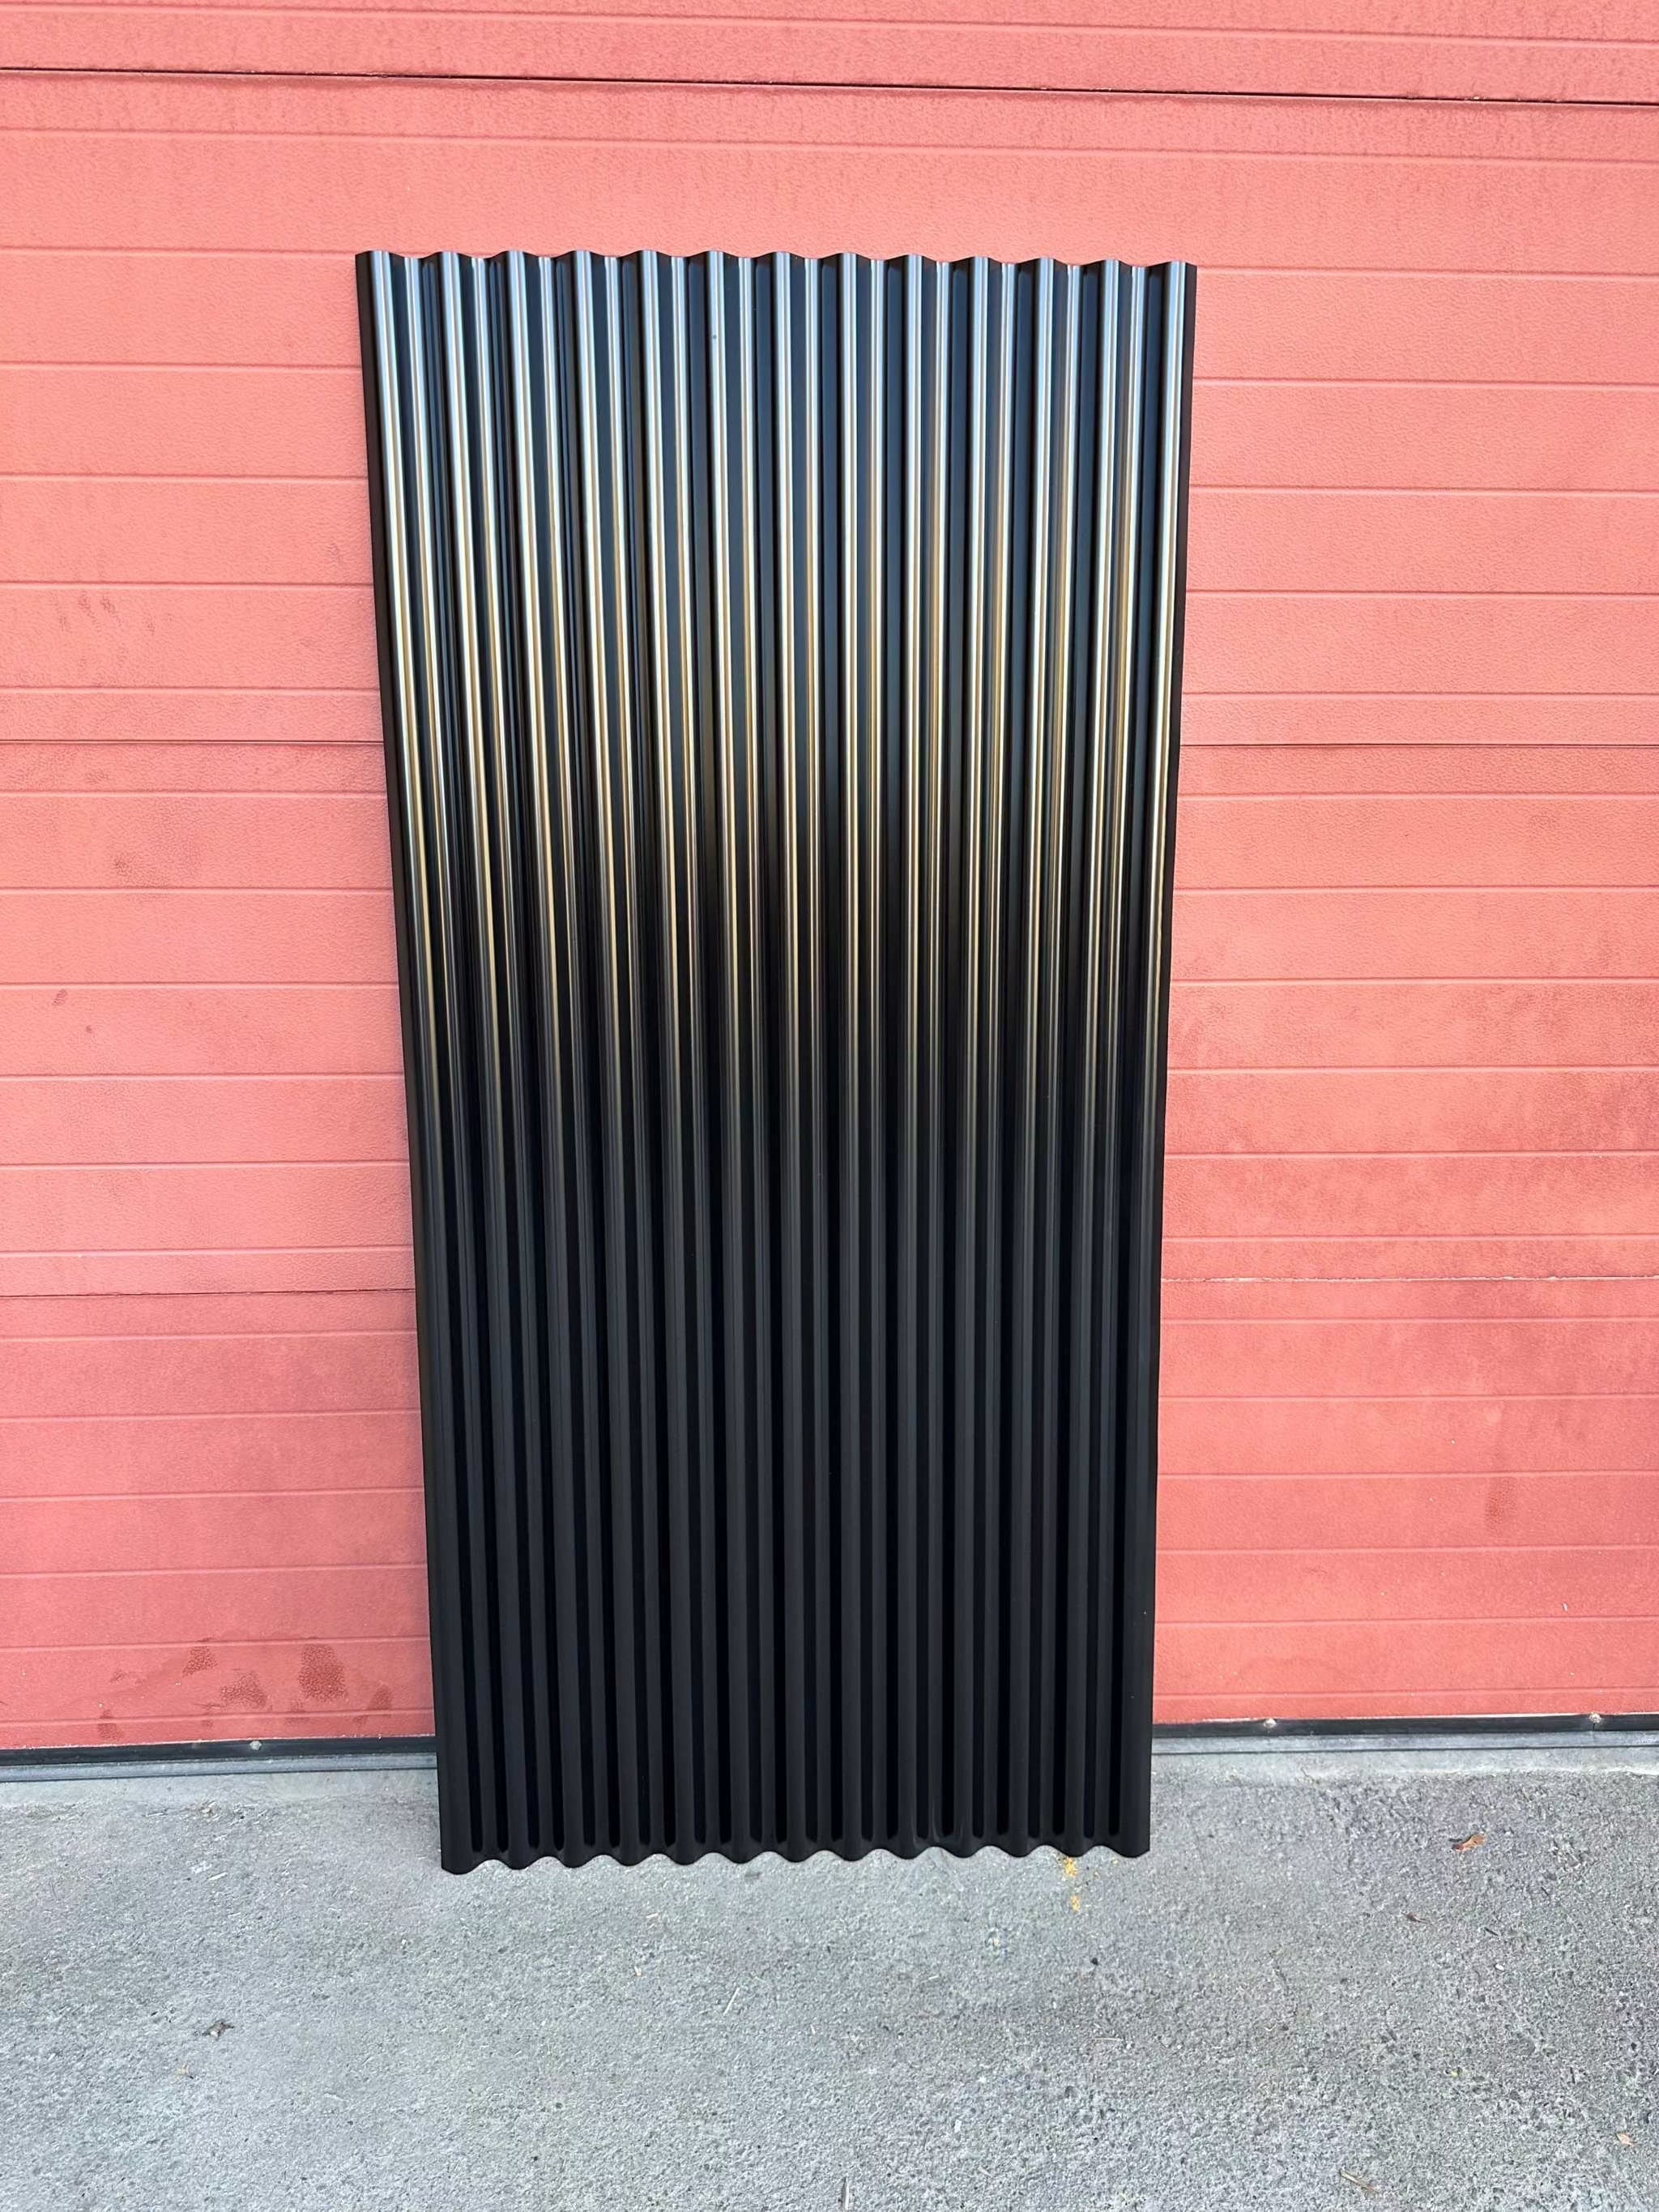
At BarrierBoss, our metal siding panels are engineered with homeowners in mind. Pick from Deep Groove, Classic Rib or corrugated siding. Easy to handle, pre-drilled, and available in durable finishes, they’re ideal for both first-time installers and seasoned builders.
Whether you're tackling a garage refresh or siding your entire home, you can count on BarrierBoss products to deliver lasting performance—and look good doing it.
